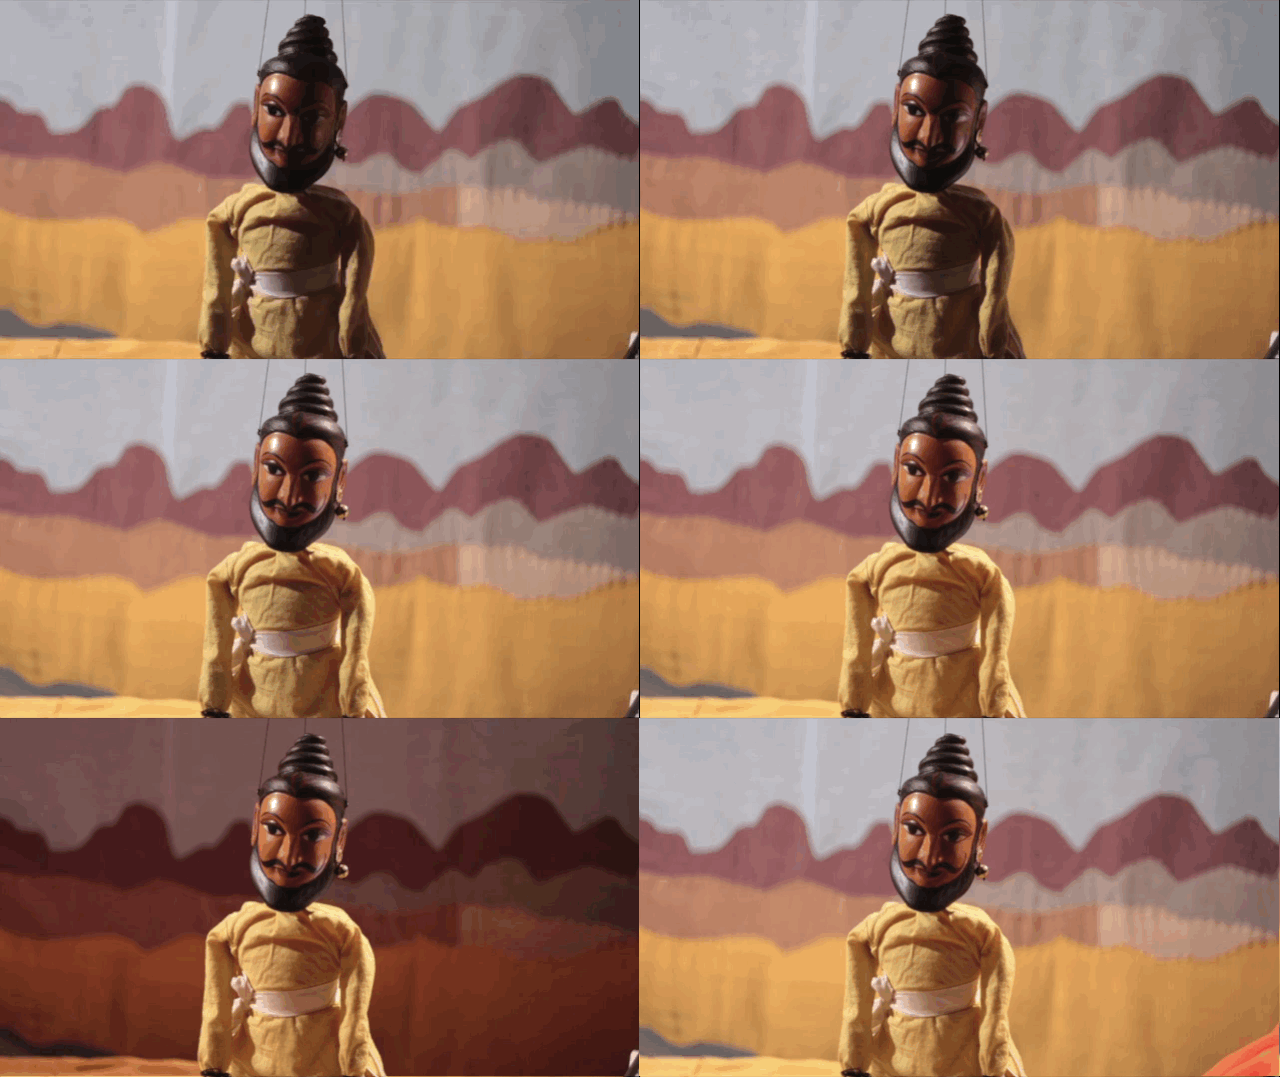
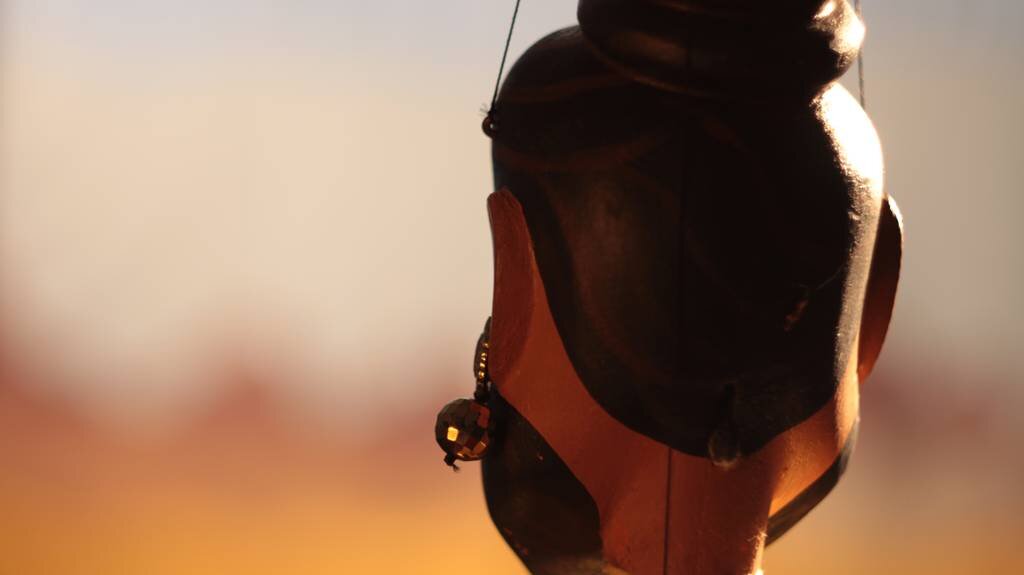
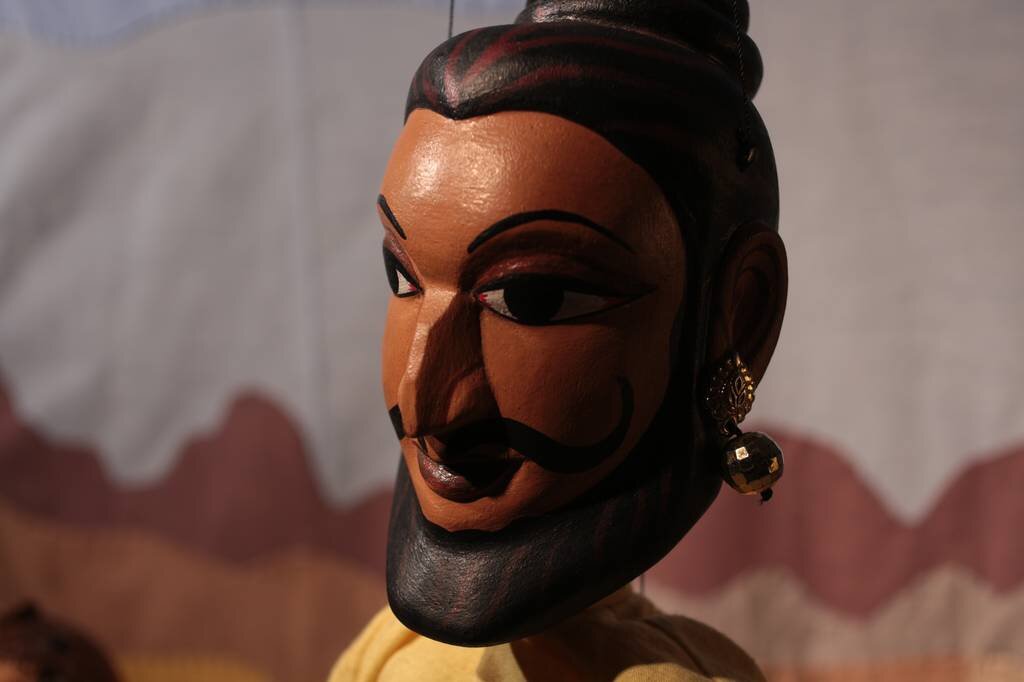
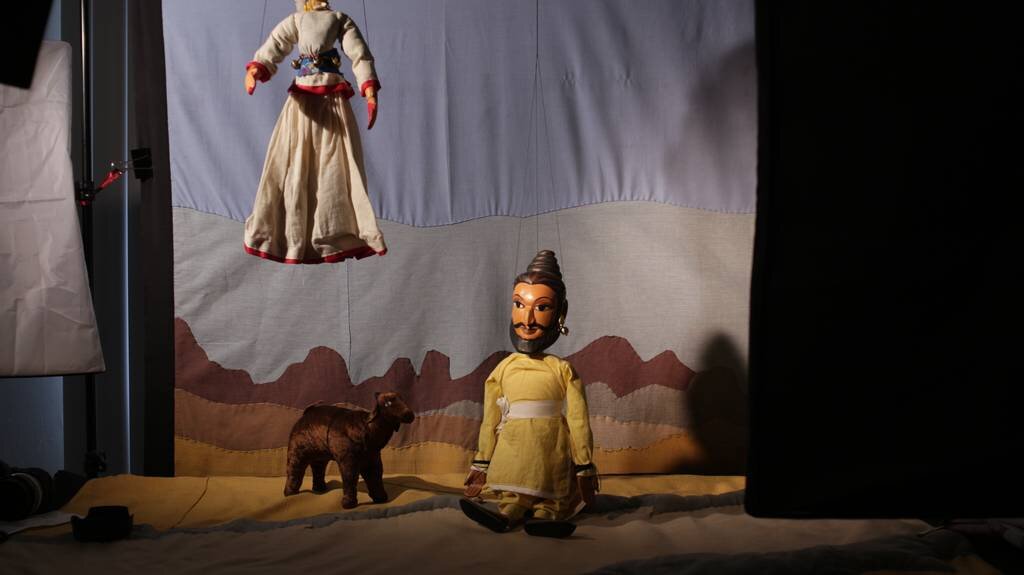
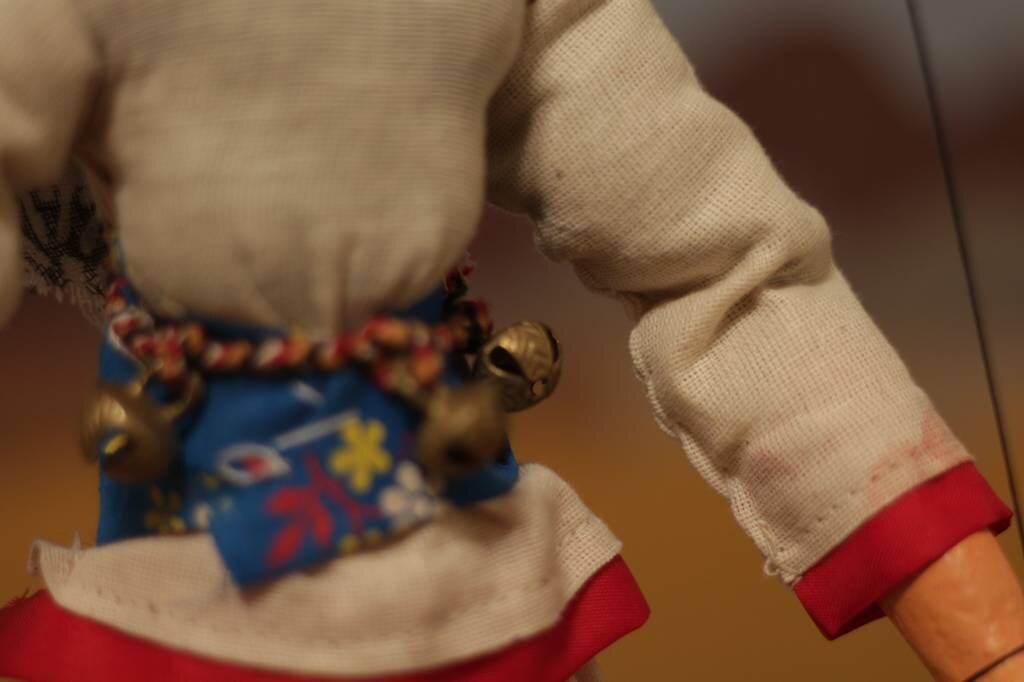
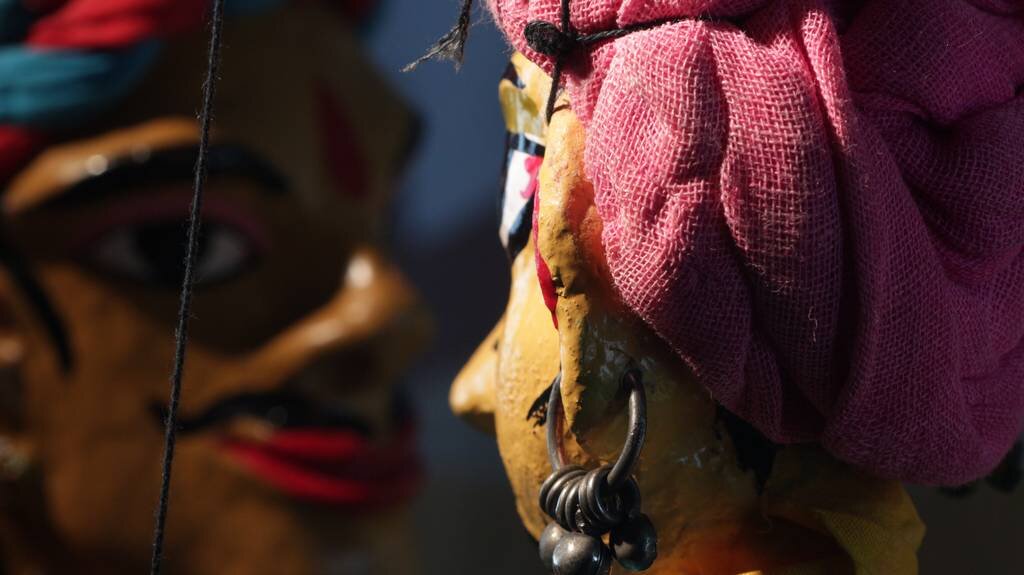
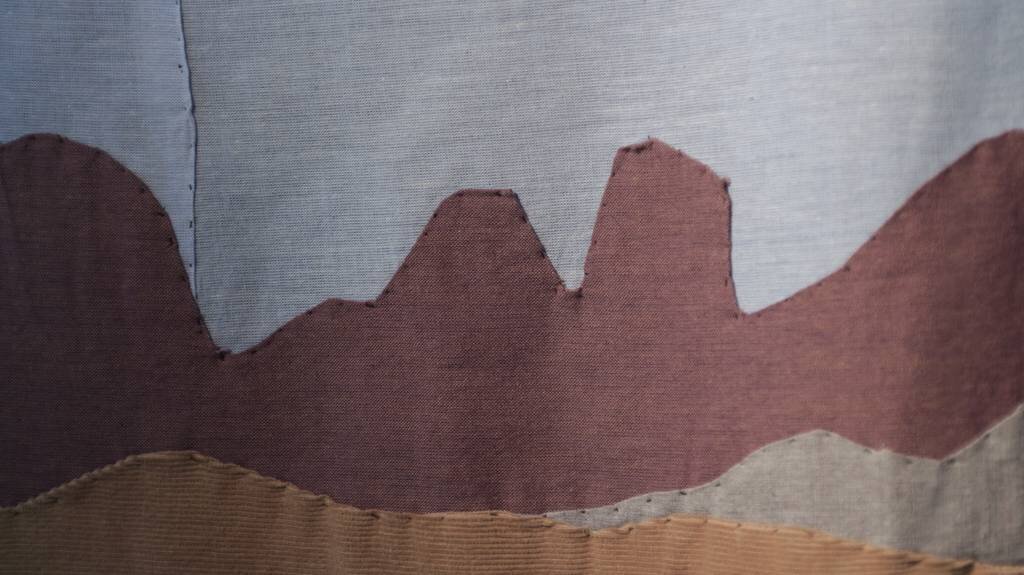
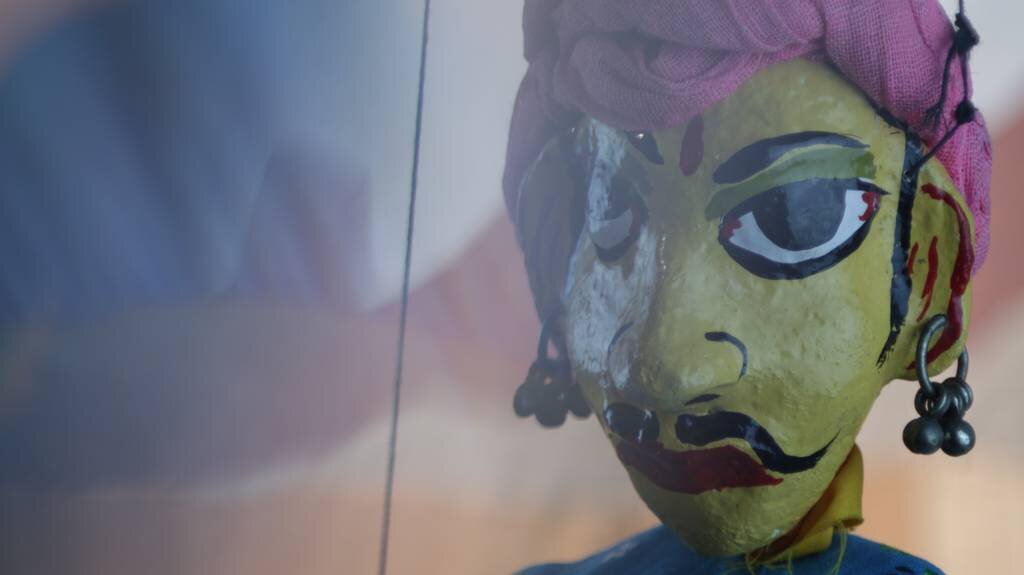
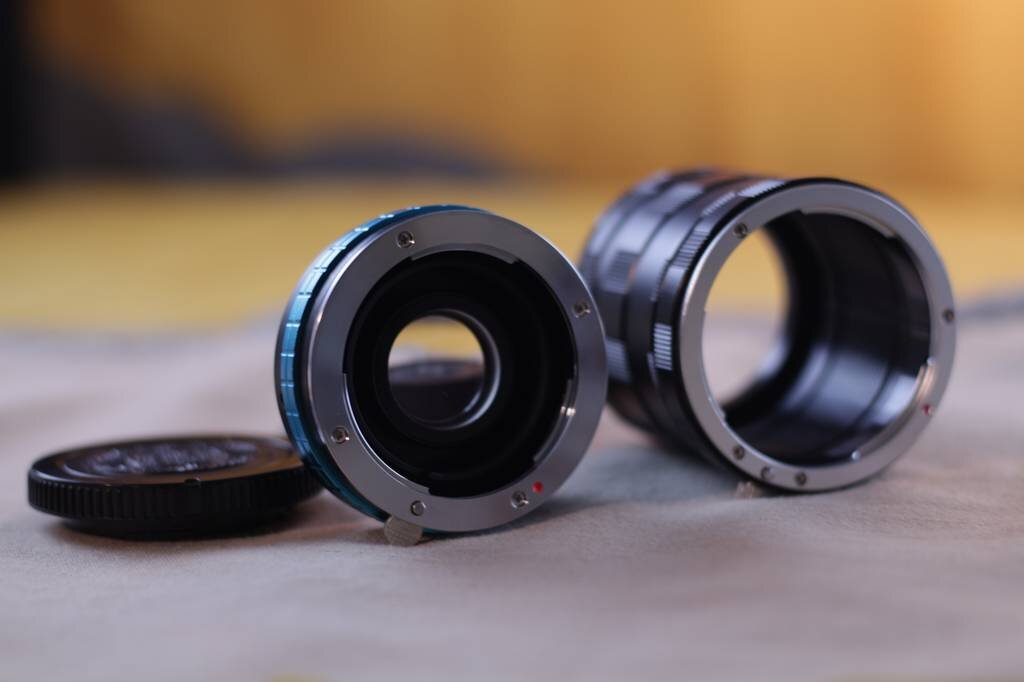
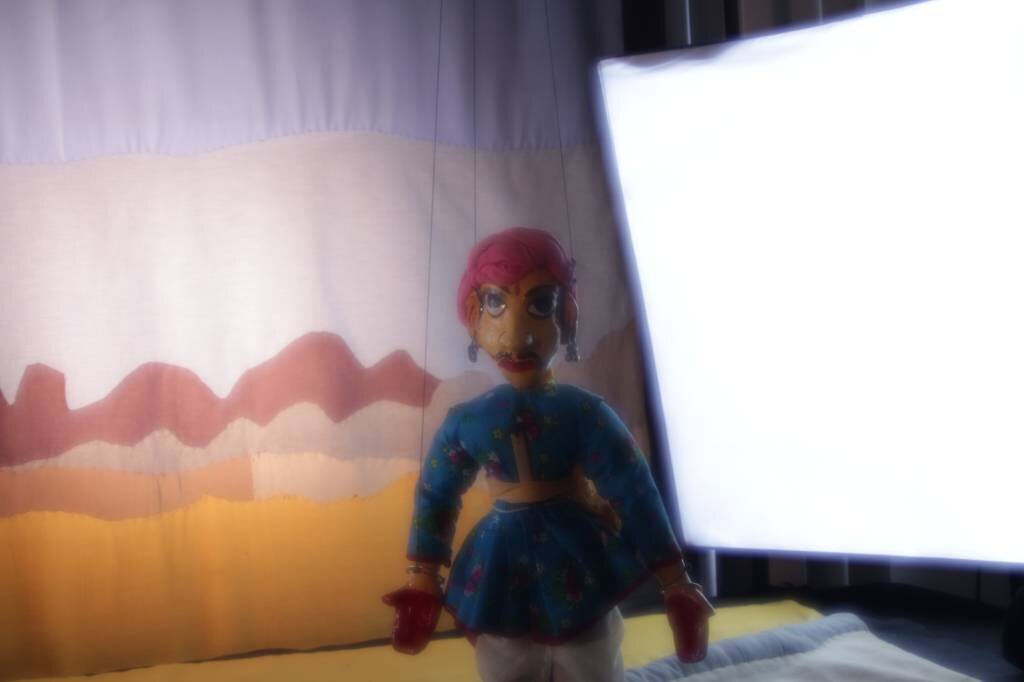
These are photos of some tests from last month for my puppet film "Risalo". It is fun experimenting with lenses, cameras, lights and these beautiful puppets. Thanks to my friends Peyton Skelton, Michael Levine and Raja Gopal Bhattar for the light kits. I had a couple of soft boxes some arri frenels, small leds and some photo lights. Coupled with stands, my own and borrowed, I have a little setup going. I've been researching and picking up some vintage camera lenses off of ebay. If you are good with manual aperture and focus lenses, you can get some fantastic lenses for a pretty good price. I do some quick web searches to read up on lenses to see sample photos and get some thoughts on them from other photographers before purchasing.This way, I've been able to pick up some f2.8 lenses for Pentax, Nikon and an M42 mount which I could use on my little Canon t4i with simple adapters. I tried my old Minolta lens, which worked great on my friend Gagan's Sony A mount, on my Canon with an adapter with some glass in it to make it work. It looked terrible. Wide open, I got a lot of glowing, which defeated the whole purpose for me. I also tried out a little macro tube, but did not find it particularly useful for video. Thanks to Amazon, I was able to get a refund on those.Besides a few kinds of lenses that don't work so well adapted to Canon, there are many varieties to choose from that use simple metal adapter rings with no glass. This is what I want. The idea is that if a a type of lens has a distance greater than that of Canon lenses to the sensor, then an adapter can be made for it. Minolta, Sony, Canon FD, MFT and some others do not work at all or require adapters with glass to compensate for the distance to the sensor and I don't think that works well at all.I've started reading a nice book on lighting called Painting with Light, by Anton. Getting the tools is only a part of the process. The real work is in shaping the light and creating with it. I'm mostly very busy with my job, and it takes time to test, study, order a few selective items and test some more. It takes time to make progress, as I also alternate between working on animated portions of the film, applying for funding and a whole host of other tasks.I've started separating the lights, using angle and barndoors. I have one light illuminating the backdrop, and a key on the character, with other lights added as a rim to pull the puppet off the background and some fill, whether from lights or reflectors. I found that I needed to create more contrast and interest. I took an orange dupatta cloth, which I plan to use for set dressing and held it at a safe distance from the light on the backdrop. That created a really nice bit of contrast and added a great deal of richness to the scene. I put in an order for some simple gels to start working with color.For the lights, one important task, was to create sandbags so they don't fall over. Again, I approached this in the usual DIY, frugal, independent filmmaker way. I picked up 150 lbs of sandbox sand from a hardware store for $15 total, some gallon ziplock backs and some empty sandbags for film off of Amazon. A few tedious hours for each batch and I had put together 12 12-15 lbs sandbags to keep all the lights and people/puppets safe on set.

